VMware vCenter 5.1 – Installation Guide – Part 1
In last article we explained how we have to install ESXi. In This article we are explaining step by step installation of VMware vCenter Server 5.1. This article will be in 3 parts for ease-of-use.
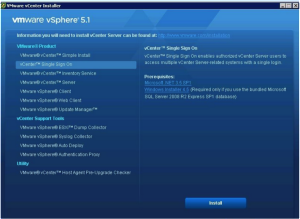
vCenter Server 5.1 can be installed component by component or simple install. We are discussing here how we have to install component by component.
vCenter Single Sign On :
The vCenter Single Sign On authentication service make the environment more secure and it allows various vSphere components communicates using secure token exchange mechanism to tighten the security. If you are installing vCenter server on your environment for first time, then you must install VMware vCenter 5.1 SSO (Single Sign On). In next subsequent installation of VMware vCenter servers, you can use same SSO service and no need to install it separately.
Login to windows server 2008r2 in which you want to configure vCenter server.
Before installing vCenter Server Components, Windows server needs to have static IP and it should be in domain. It needs at least 4GB Ram, 2CPU’s, 1 NIC-1GBps or 10GBps.
Mount the vCenter 5.1 ISO to the machine and select single sign on component.
Select English and press OK to continue to install necessary libraries.
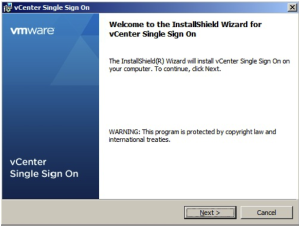
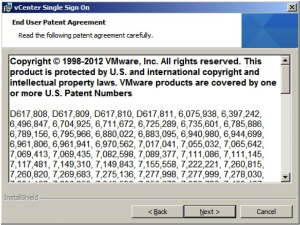
Click Next to continue the installation.
Click Next to continue the installation.
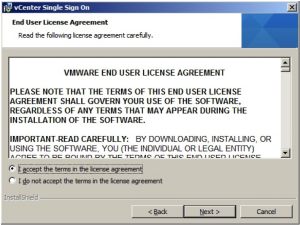
Accept the license to proceed the installation.
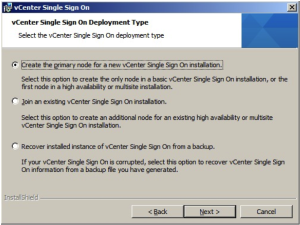
Select the first option to create a new vCenter Single Sign On service.
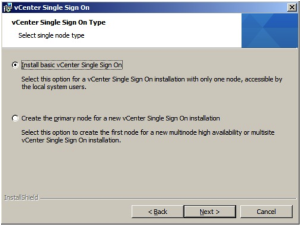
If you not using SSO in high availability,Install the basic SSO by selecting the first option.
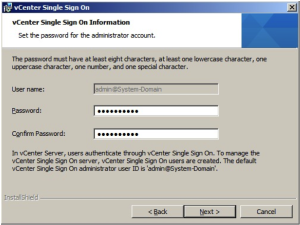
By default, SSO create a user admin and we just need to provide the admin password.
Note: You need to provide these credentials while installing vCenter server and vCenter Inventory server and also for Web Client.
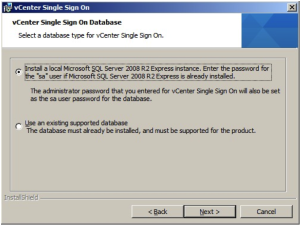
Install a local Microsoft SQL server if you do not have an existing supported database.
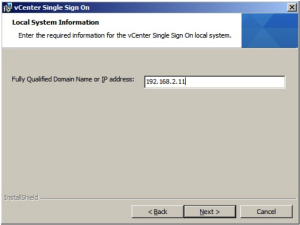
If the DNS is not configured, Just enter the server IP address (windows server).
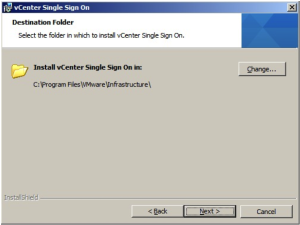
Select the SSO installation directory.
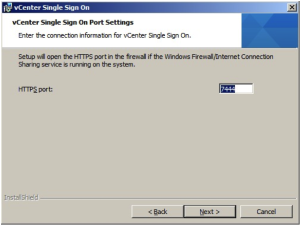
vCenter single sign on port information.
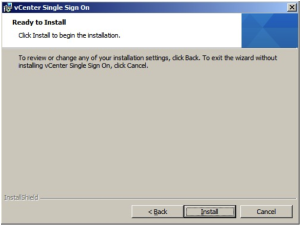
Click to “Install” to continue the installation.
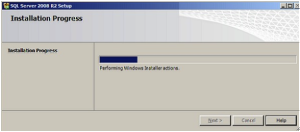
This setup will install SQL server 2008 R2.
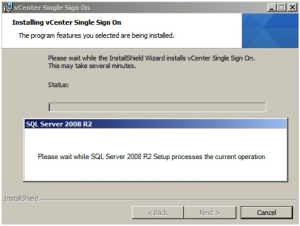
You will get below screen while installing SQL 2008 R2.
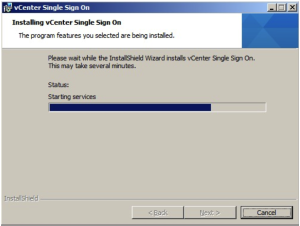
Setup starts the VMware vCenter SSO services automatically. You can check the services status in “services.msc” console.
Click Finish to complete the installation.
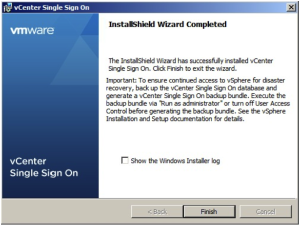
Now you have successfully installed Vmware vCenter SSO server. The Next step will be installing VMware vCenter Inventory Server. Please refer the Part 2 for these instructions.